Common Problems and Fixes
This page presents the top problems we've encounter in repairing the highly unreliable rolled ice cream machines being manufactured in China. We've also included simple solutions for most of these problems. Keep in mind that most of these fixes are only temporary solutions but may be enough to keep your business running while you find a more permanent option. Custom Circuit Solutions LLC assumes no liability in the event that these recommended fixes cause damage or harm to anyone or anything.
Problem #1: Sticking Relays
The #1 problem we have seen is with sticking mechanical relays. If your machine's pan temperature is running much cooler than the set point, your machine is running even when the unit is set to off, or if the unit just fails to properly regulate temperature then there is chance that one or more of your relays are sticking. One tell tail sign is that the problem you are encountering is intermittent.
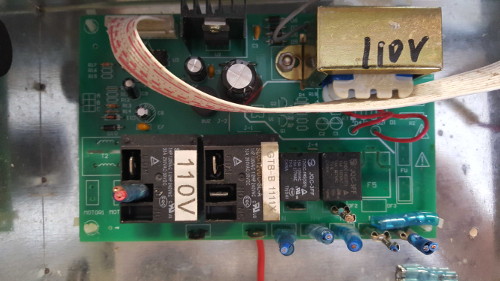
Relays are mechanical contact devices which control the flow of power to the various components that make up the machine. Most rolled ice cream machines have three relays. One controls power to the compressor, a second controls power to the gas bypass temperature control solenoid, and a third controls the hot gas defrost solenoid. A problem with any one of these relays can cause problems with temperature regulation. So why do relays stick? Relays are designed with a finite number of switching cycles, rated at so many amps of current and at a given voltage. Over time the relay contacts become "dirty" and begin to stick when they are told to turn off and release. Switching power levels above the rated parameters of the relays makes them become dirty and stick prematurely. The problem is that the relays that ship with the machines manufactured in China are as cheap as possible and are designed to fail after very few switching cycles. Plus, they are often switching more power than they are rated for. As a result, the relays have an average lifespan of less than one year.
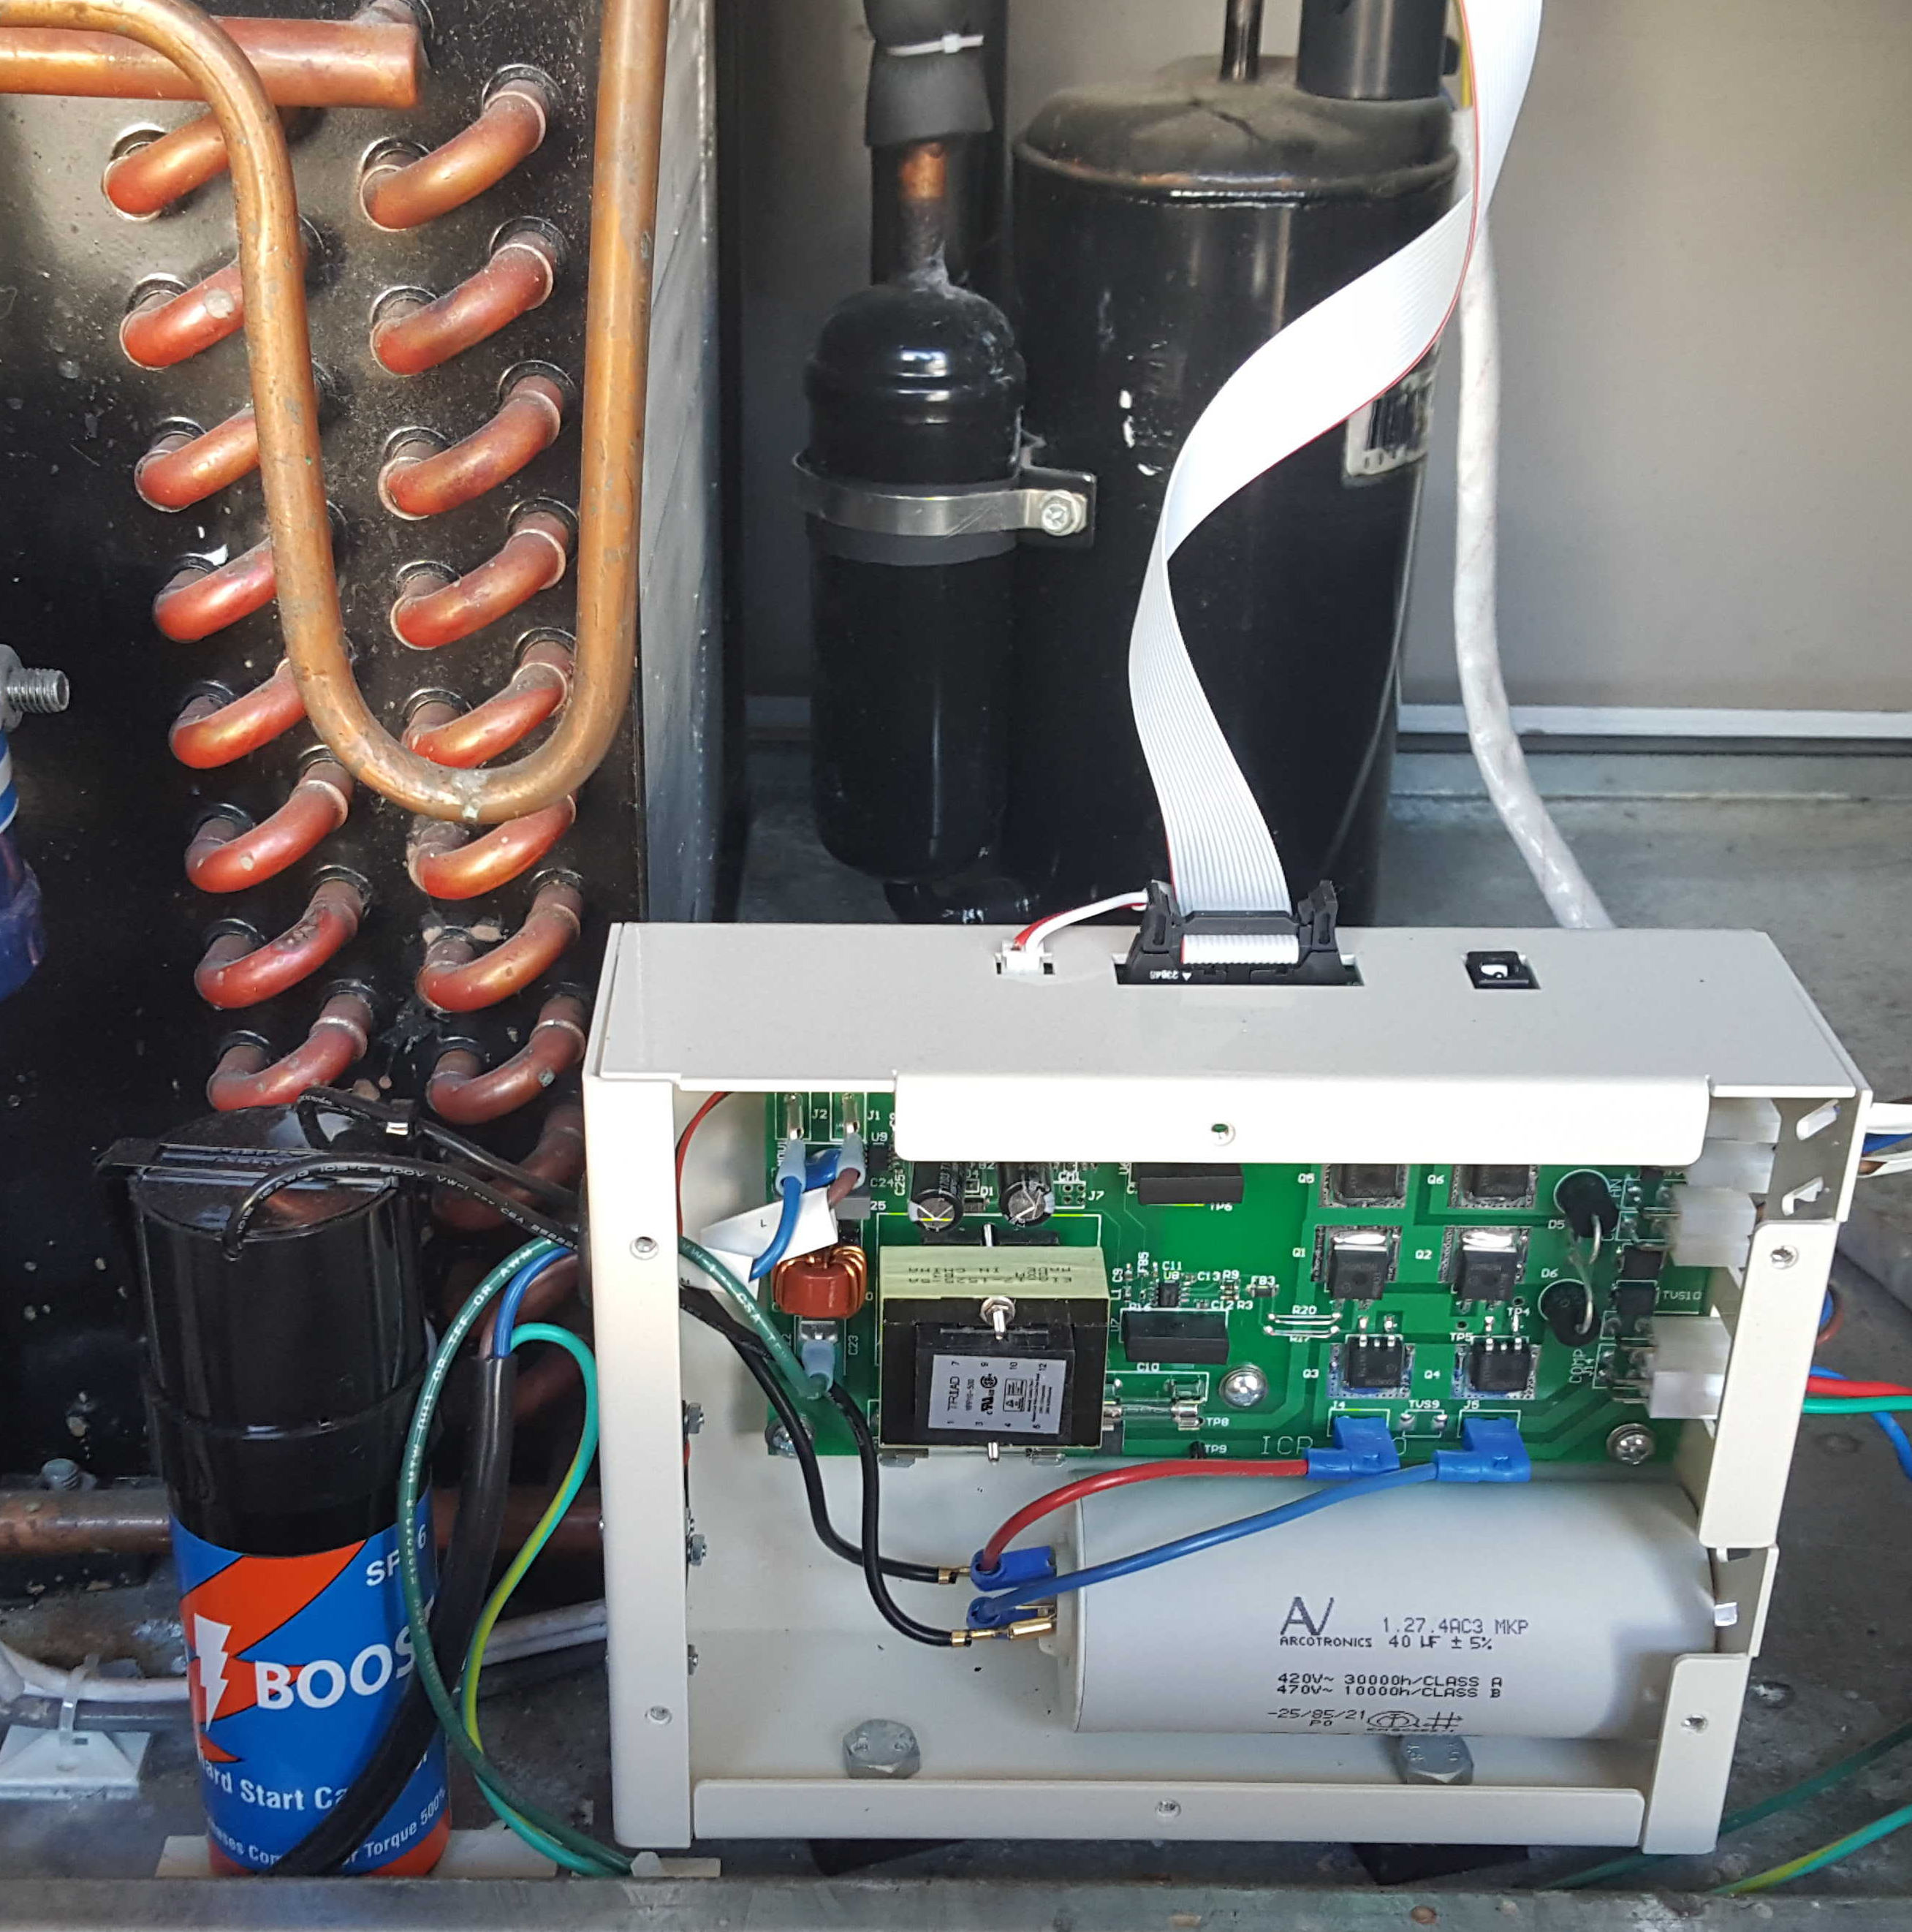
So what can be done to fix a sticking relay? While it is possible to simply replace the cheap relays with something better, this is not something everyone can do and does not help if your business is shut down and you need a quick solution. Most relays can be unstuck with a simple tap (sometimes more than a little tap!!) directly on the relay. PLEASE MAKE SURE THE POWER IS OFF BEFORE YOUR DO THIS. The relays are the black box looking devices in the photo below. If this does unstick the relay then your unit is likely to work for a period of time but ultimately once a relay begins sticking it will only get worse and require more frequent hitting of the relay. When we replace the electronics in one of these units we replace them with what are known as solid state relays. While they are more expensive, they don't wear out like mechanical relays do.
Another relay issue we've recently encountered is in a machine which worked fine for a short period of time but after a little while the unit started failing to cool. Why does this happen? Mechanical relays require a specific amount of power (known as latching power) to maintain the relay contacts in a closed state. This required power level changes with temperature. As the temperature of the relay goes up the required power also goes up. If the relay latching power is designed for a low temperature, your unit might work fine for a while but after a short period of time the relay will heat up and fail to latch, causing your unit to not be able to cool. If you suspect this is a problem with your unit try directing a fan at the relays on the control board.
Problem #2: Blown Motor Run Capacitors
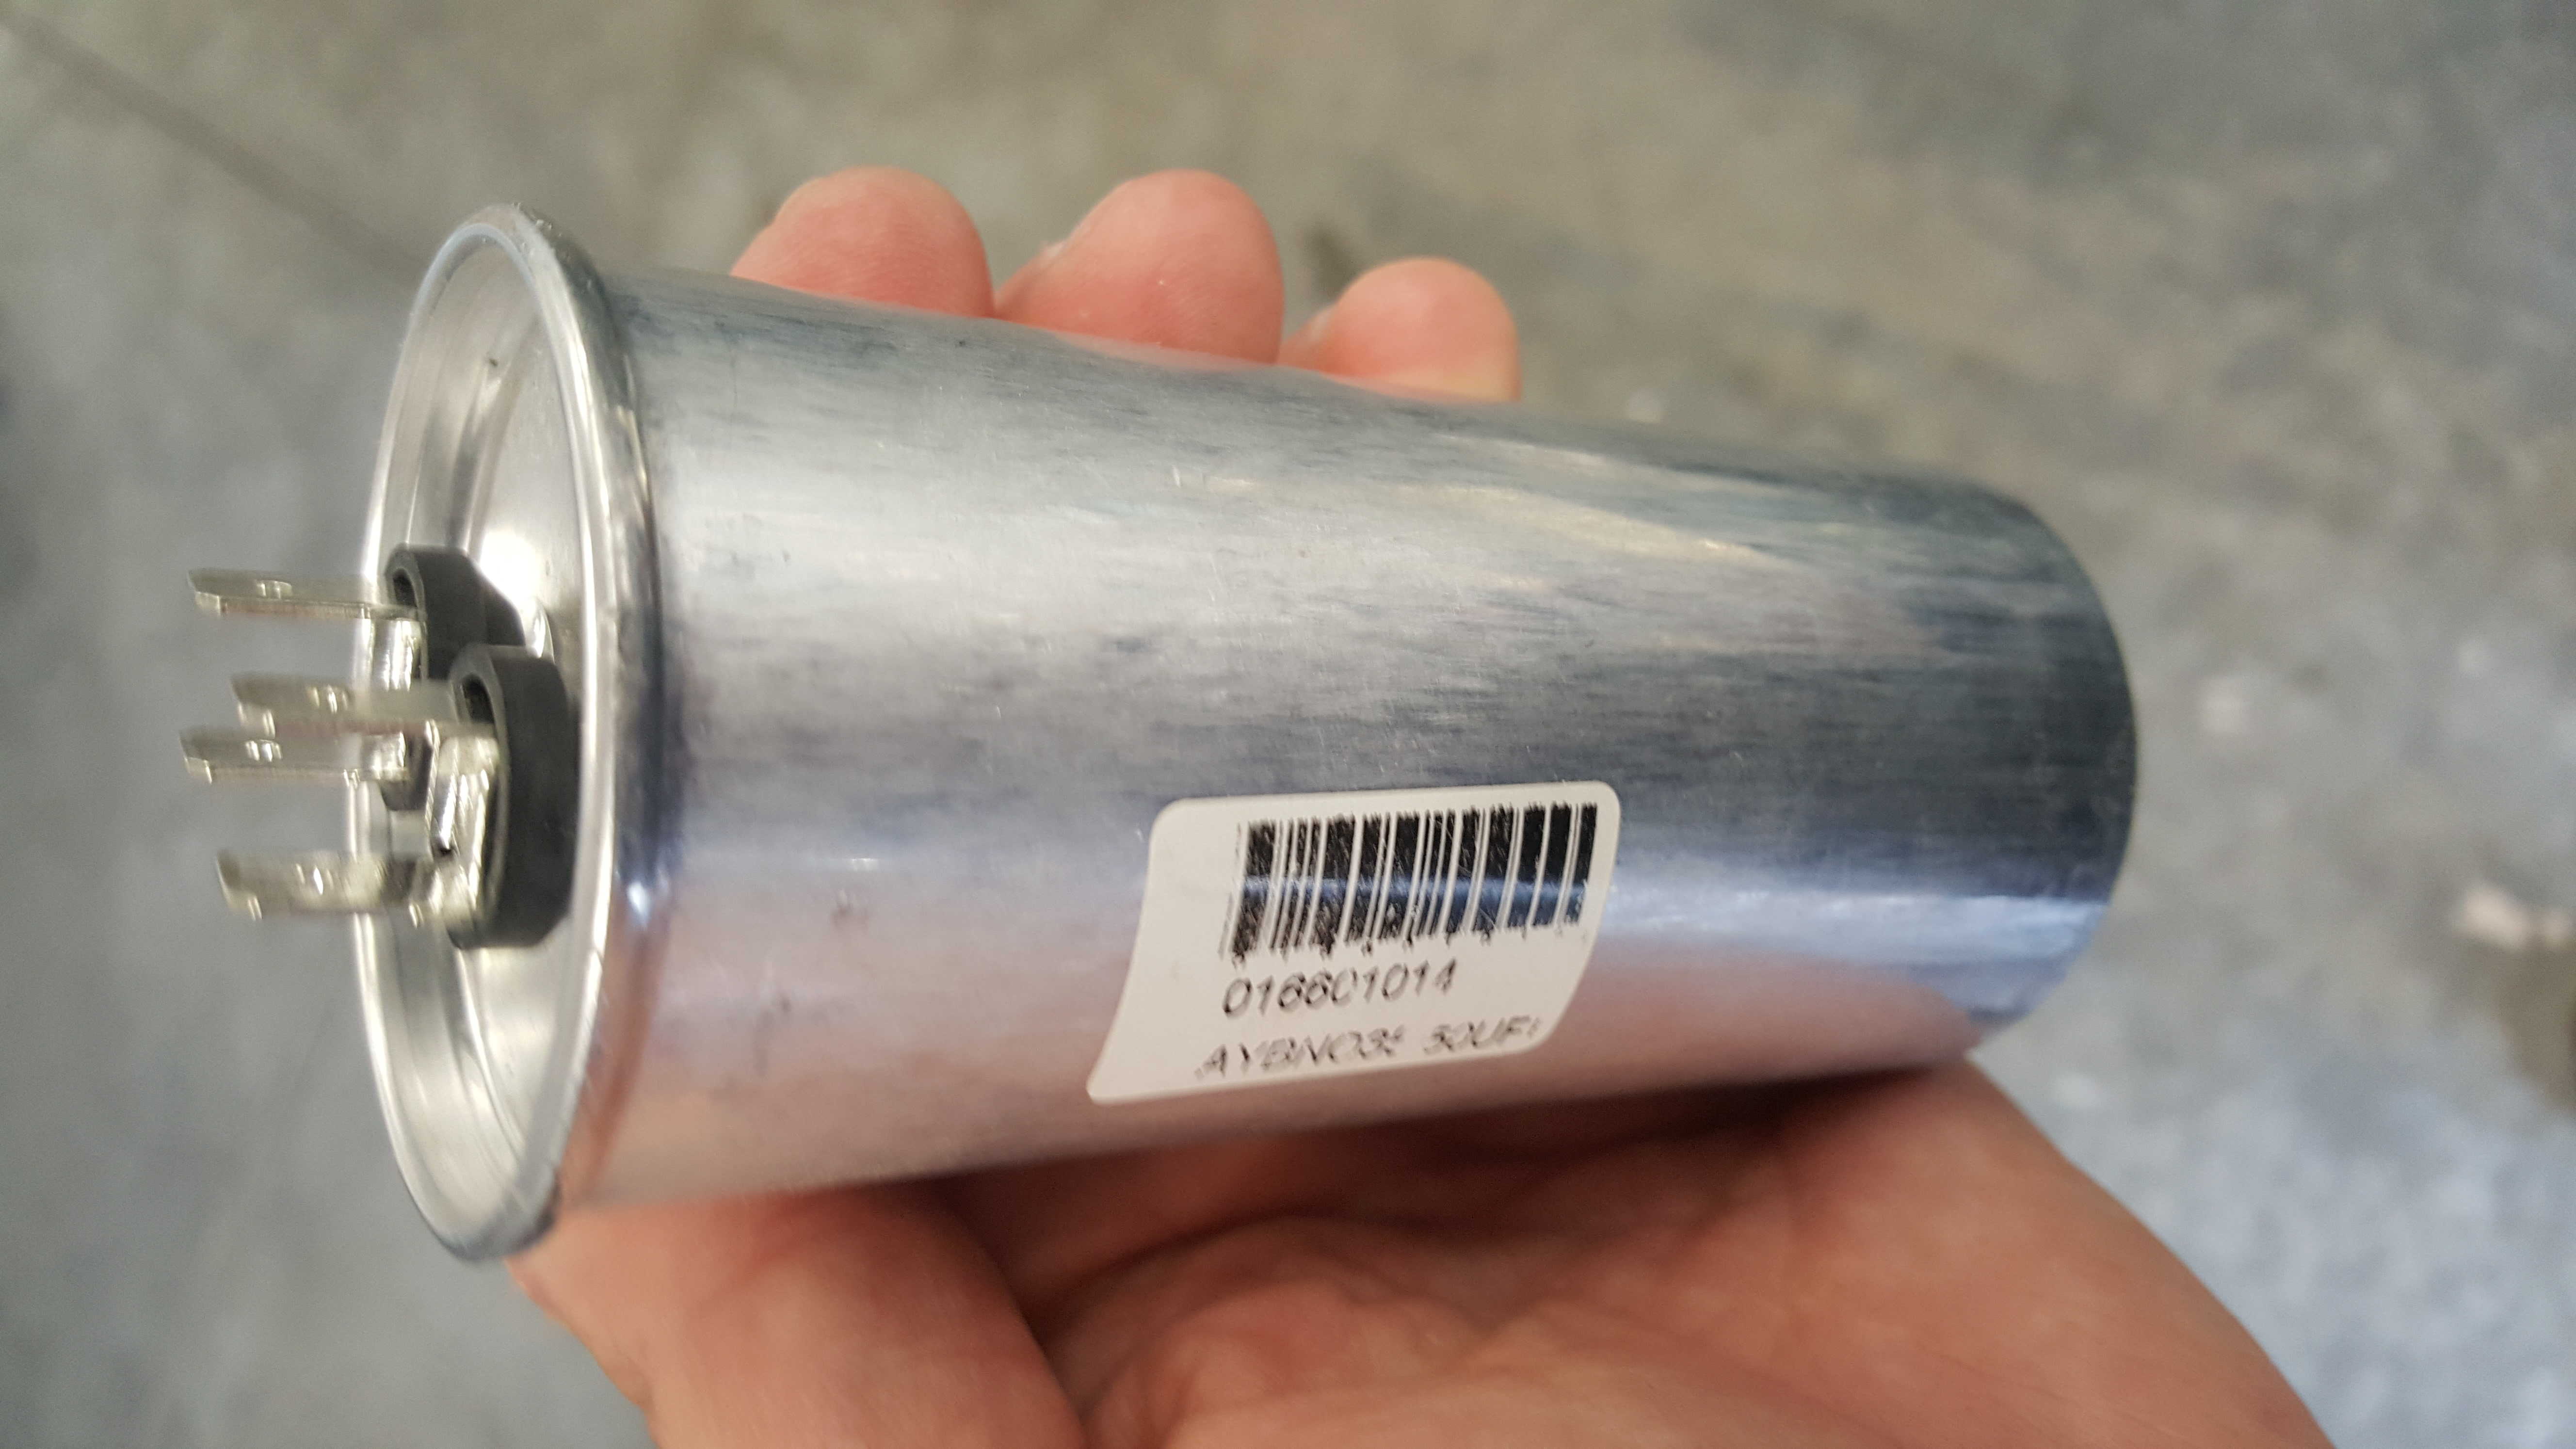
Motor run capacitors are the silverish looking canister in the image below. A motor run capacitor is required to keep the unit's compressor running properly. All motor run capacitors wear out over time and have notoriously high failure rates. The ones found in the rolled ice cream machines are especially cheap and have very short times to failure. When they fail your motor will no longer run and may cause an over current condition which trips the breaker supplying power to the unit. The good news though is that these types of capacitors are also found in refrigerators, air conditioning units, and other appliances so when one does go out you can likely pick up a replacement part at any local repair shop.
If you suspect the capacitor to be bad you can remove the capacitor from the unit (AFTER TURNING OFF POWER TO THE UNIT AND UNPLUGGING IT FROM THE WALL!!) in order to test its capacitance value. Most cheap multimeters from any hardware store can measure capacitance. If you find the measured capacitance value to be with 10% of the rated capacitance value printed on the capacitor then it is generally considered to be good. If you do need to replace the motor run capacitor choose a replacement with an AC voltage rating as high or higher than the one printed on the capacitor. Same for capacitance, you can generally go with a capacitance value slightly higher than the one currently in the unit but never go with a lower capacitance value since the cheap capacitors provided from China are already usually undersized to save a few pennies.
Problem #3: Stuck Compressor Motor
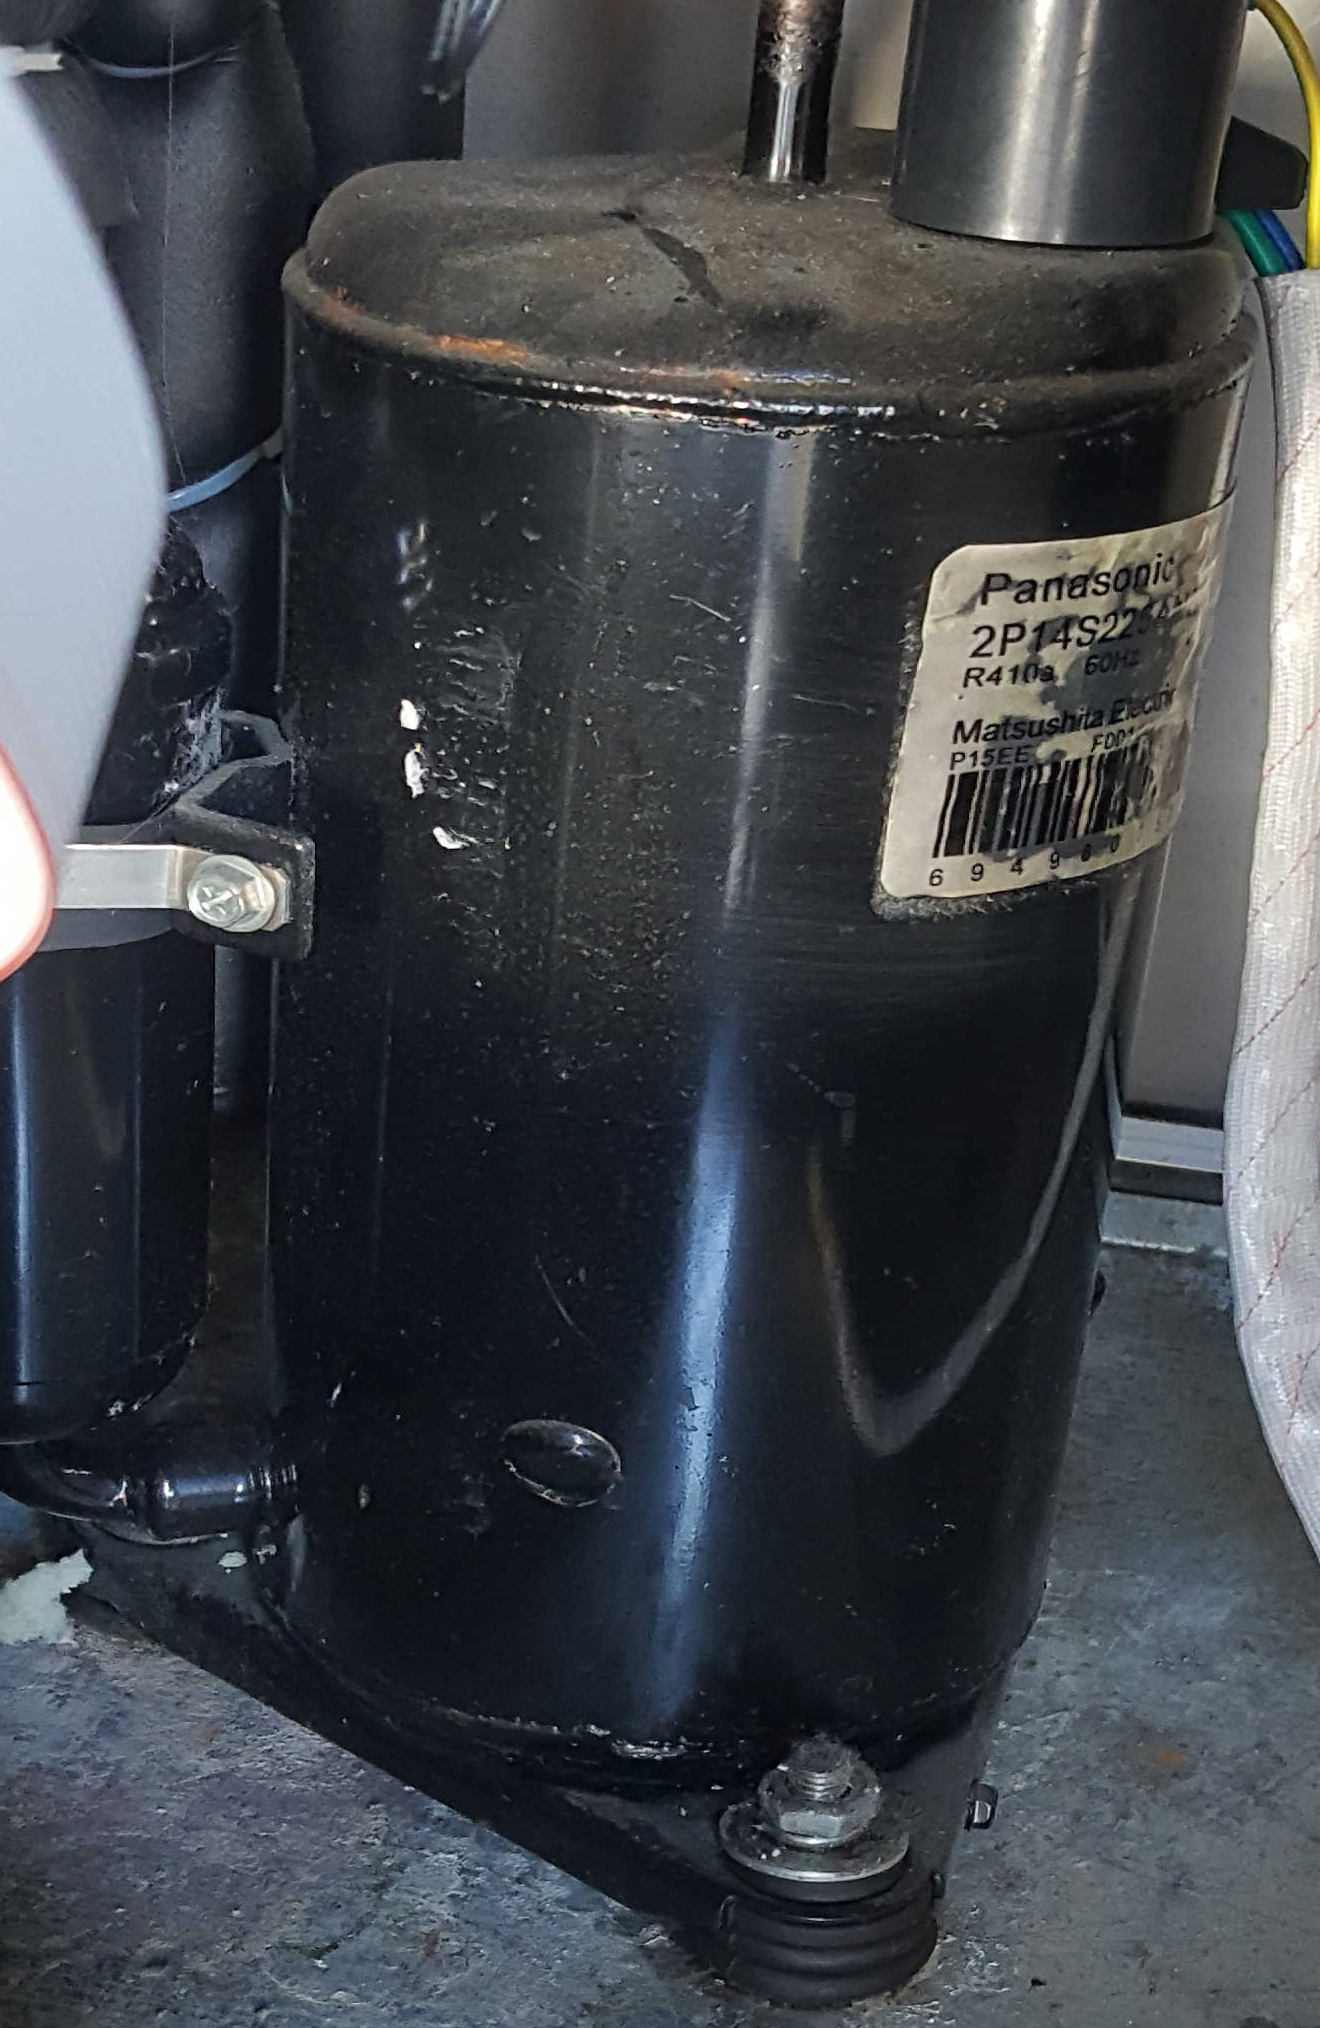
If your unit randomly or always trips the circuit breaker that it is plugged into then there is a good chance that the compressor motor has begun to stick. When compressors first turn on there is a surge of current that runs through them that is much higher that their normal operating current in order to create the needed torque to start spinning the motor. Once the motor starts spinning this inrush current dies down quickly. Normally this surge current only lasts a few AC cycles and does not last long enough to trip the circuit breaker. But, once the motor starts to stick the normal inrush current may not be enough to get the compressor spinning and as a result the inrush current lasts until the circuit breaker trips.
Why do compressor motors start to stick? It could be that the motor has failed and completely locked up. However, we have found this generally to not be the case. More than likely the starting torque required to start the motor spinning has increased by only a small amount but just enough to keep it from getting going. This increase in required torque could just be from normal wear and tare over many years of operation but because we see the problem in relatively new compressors it is likely one of two issues. First, the manufacturer did a poor job of evacuating all moisture out the refrigeration system before they added the refrigerant to the lines. Moisture in the refrigerant creates an acid that eats away at the compressor. Secondly, liquid refrigerant should never be sucked in by the compressor, if it is allowed to it washes the oil off of the moving motor components leaving the motor without the required lubrication. This is a design issue and there really is nothing you can do to resolve it. If either of these conditions is true then your compressor is headed for an early death.
However, don't throw your machine away just yet. There is a solution that can extend the life of your machine for a period of time. Most of the cheap compressors that are used in rolled ice cream machines are known as low starting torque scroll compressors. This basically means that the manufacturer was too cheap to include what is known as a start capacitor. A start capacitor looks the same as a motor run capacitor but they do two very different things. A start capacitor provides the added current and therefore torque to help a compressor get started. They also reduce how long the current inrush period lasts which is good for both the unit and your building's wiring system.
In the below right photo you can see a torque boosting start capacitor (the black and blue cylinder looking thing) that we added to a machine who's compressor had appeared to have completely locked up. Along with the replacement electronics that we installed, the added torque boost start capacitor was enough to bring this unit back from the dead and is continuing to operate better than before. We recommend a Supco torque booster unit that can be purchased from Amazon for around $10 and is easy to install. This is much better than throwing your entire unit out.
Problem #4: Loose Connections
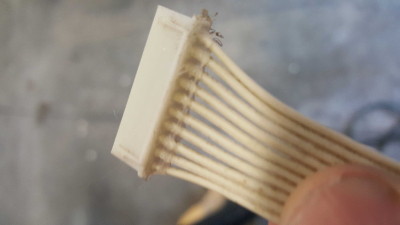
If your unit seems to be experiencing some unexplained electrical behavior and none of the above issues seem to apply check all connections (FIRST UNPLUG YOUR UNIT!!). The wiring on these machines is sub-par at every location within the unit. The low voltage connections, such as in the photo below, are just as prone to being the problem as the high voltage connections. On the low voltage control/sensing connectors we often see manufacturers gluing the pins into the connector in order to make a more secure connection. This should not be needed on a decent connector. On the high voltage connections check to make sure that they are firmly secure. If they seem loose or wiggle when you tough them then they need to be replaced. A simple connector crimper and a set of connection lugs can be purchased at any hardware store for less than $20 and can be used by anyone.
One example of this, if your unit fails to properly regulate temperature but everything else seems to be operating fine then there is a chance that the temperature sensor connection is loose. We have seen this happen before.
Problem #5: Poor Air Flow
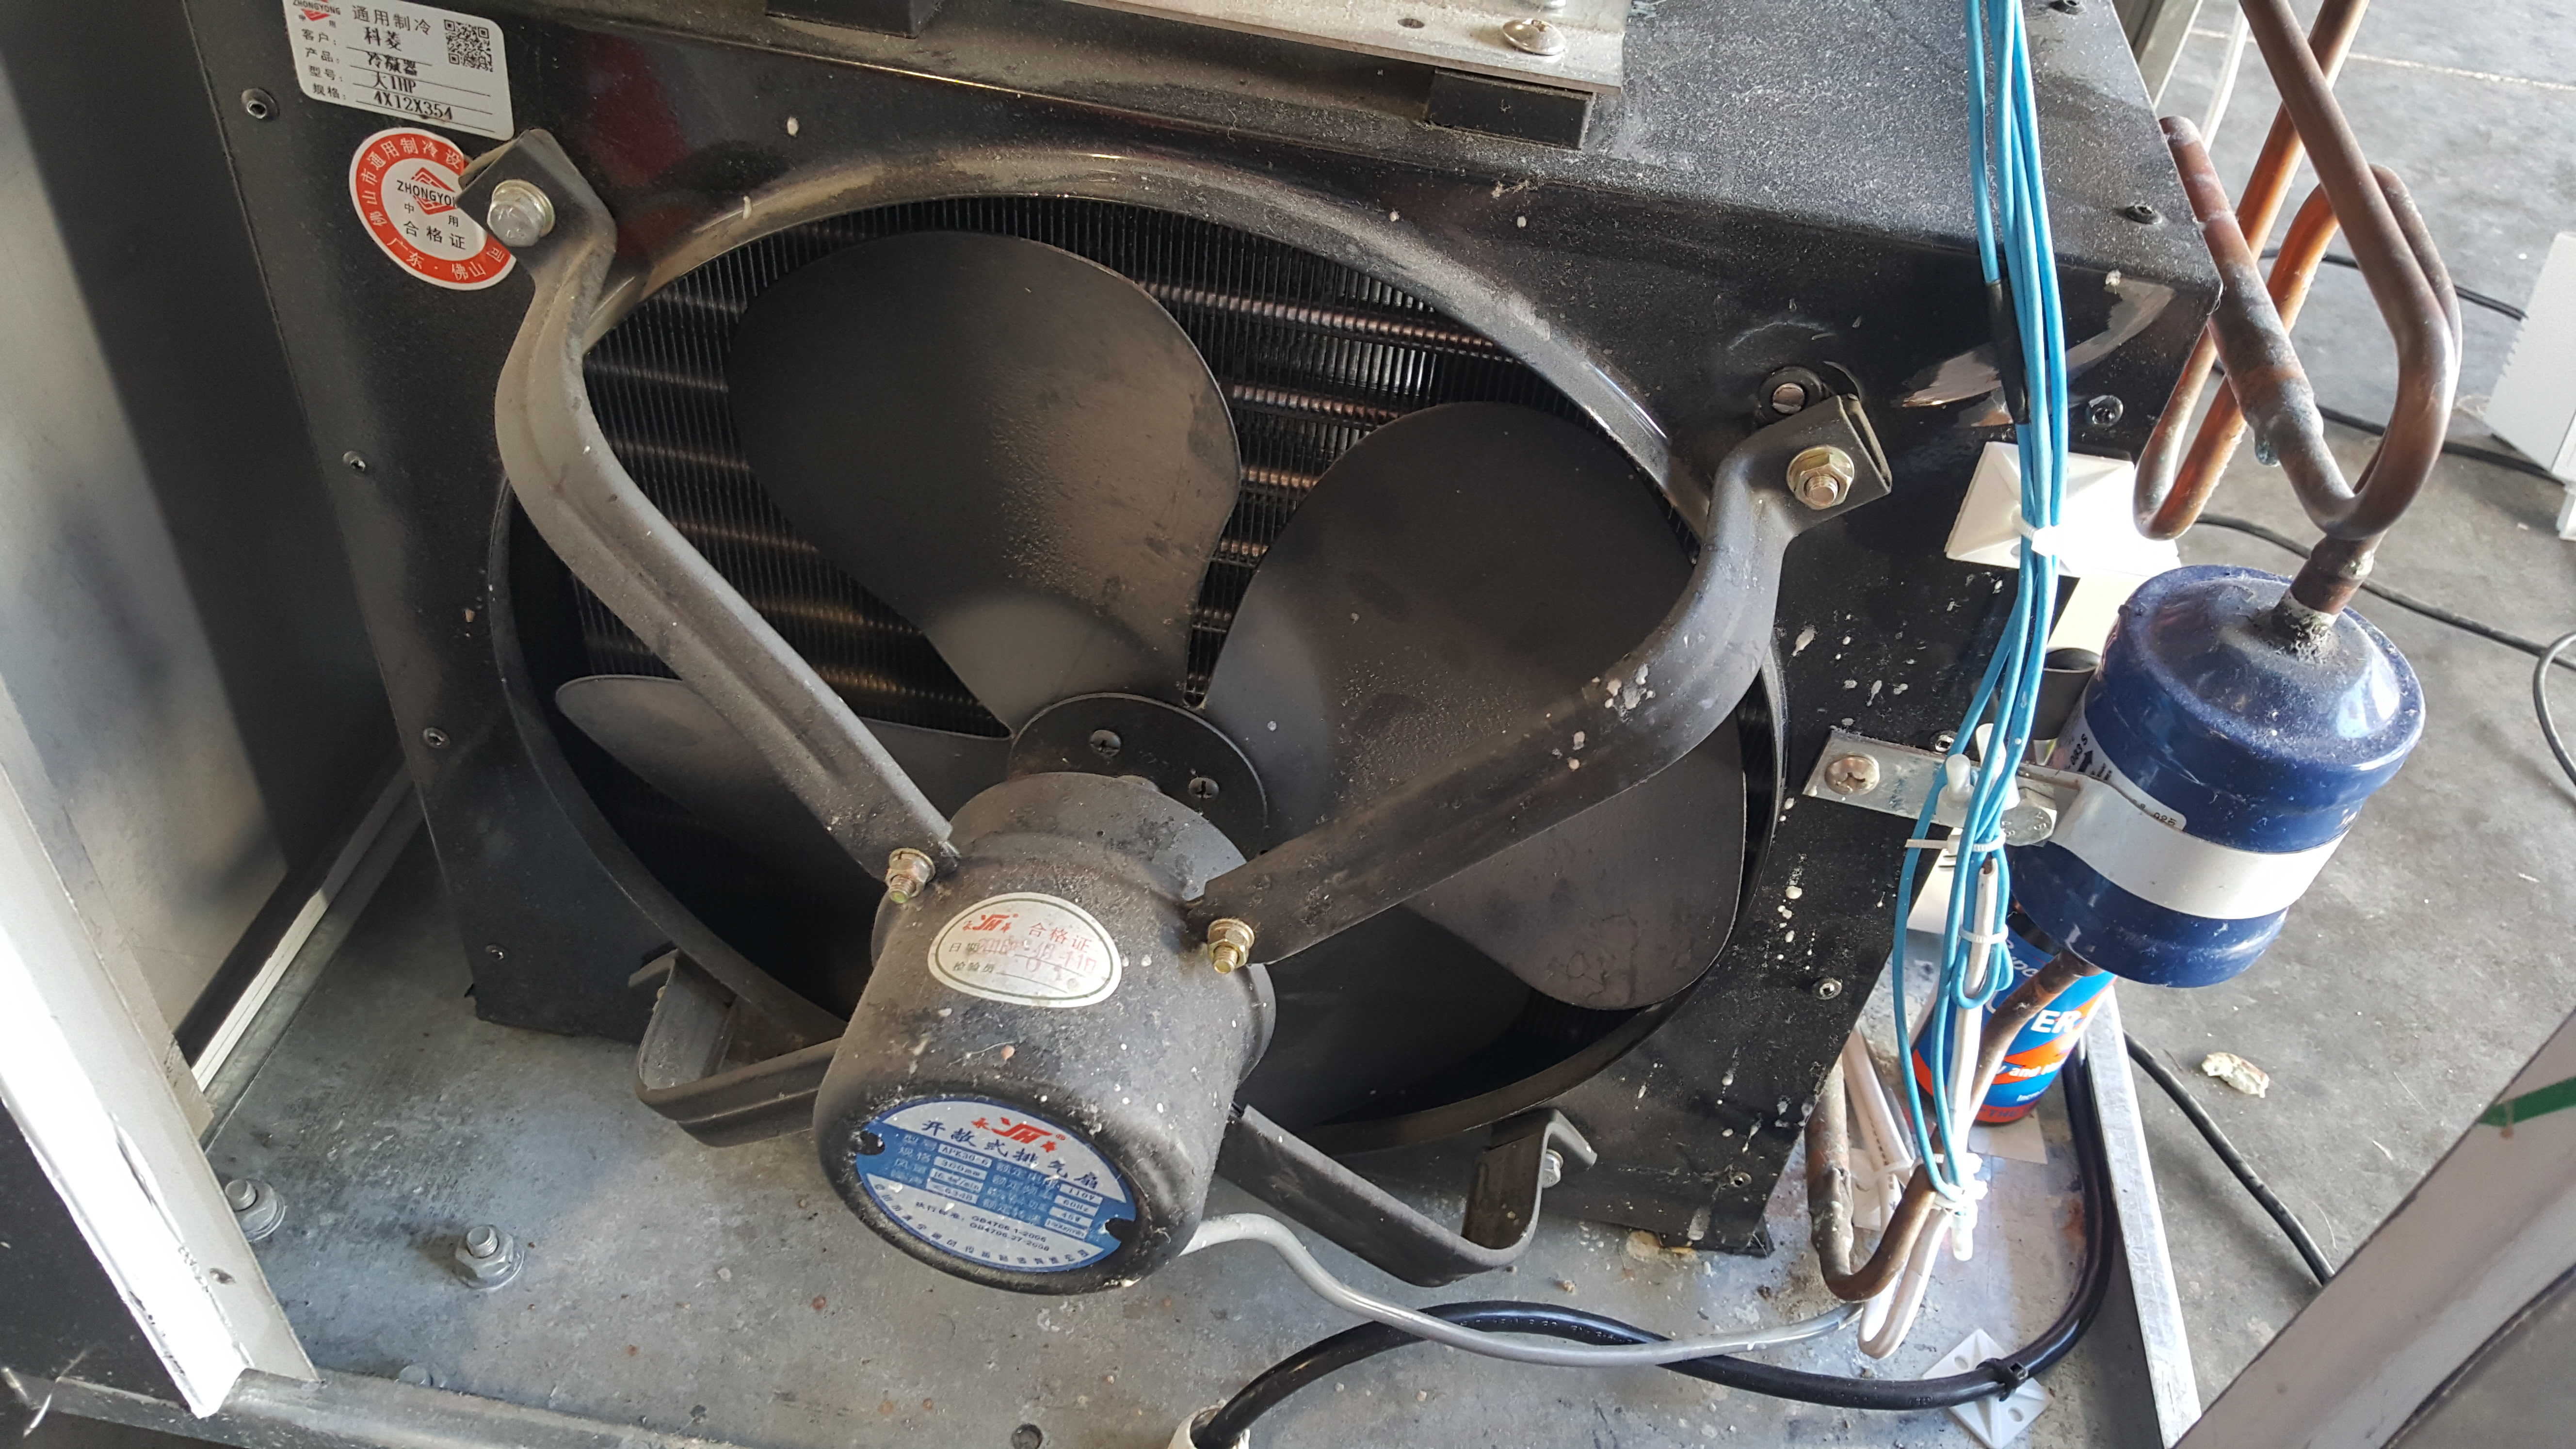
If your unit seems to run fine but struggles or does not get down to the required set point, either quickly or at all, then there is a good chance that your condenser coil is not getting proper air flow. A typical condenser coil and fan set are shown below. The condenser coil is responsible for rejecting the heat produced by the compressor to the ambient air. If the condenser coil is blocked by even a small amount of dirt and debris then it cannot perform its function properly. Most people check for cleanliness on the air exhaust side of the condenser, where the fan isn't. The problem is most of the dirt accumulation will be on the air intake side hidden behind the fan blades. ALWAYS UNPLUG YOUR UNIT WHILE WORKING AROUND THE FAN SO IT CANNOT POSSIBLY START WHILE YOUR HANDS ARE AROUND IT. Use whatever you may have available to clean the dirt out from between the fan blades and the condenser coils. It is not always easy to get in there but it is critical to keeping your machine running properly and efficiently.
One other issue we commonly see regarding proper air flow is how the machines are placed. We discuss this in #3 of our technology overview page. One side of the machine is always the air intake and the opposite side is the air exhaust. If you place two machines with side-to-side air flow next to each other one unit's hot air exhaust will feed directly into the cool air intake of the other machine. This by itself will cause the unit taking in the hot air to run horribly inefficient, possibly to dangerous levels depending on the type of refrigerant used. In addition, we have found that the unit taking in the exhaust from another unit will require its condenser coil be cleaned much more often than the other unit. This is a result of the exhaust air being somewhat dirty.
Problem #6: Pan Hot Spots
One question we get asked frequently is why is there a hot spot on the pan surface when the rest of the pan is freezing normally. The pan surface may have been fine for a period of time and all of a sudden a hot spot shows up in one or more spots. There are two main reasons why this occurs. First, some units have the cooling coils hard attached to the pan surface using a thermal epoxy. Overtime the heating and cooling cycles of the pan surface will cause this epoxy to separate, leaving the coils to make poor contact with the pan surface. There is not much that can be done to resolve this however, you can try to wedge something upwards beneath the coils to force them into better thermal contact with the pan surface.
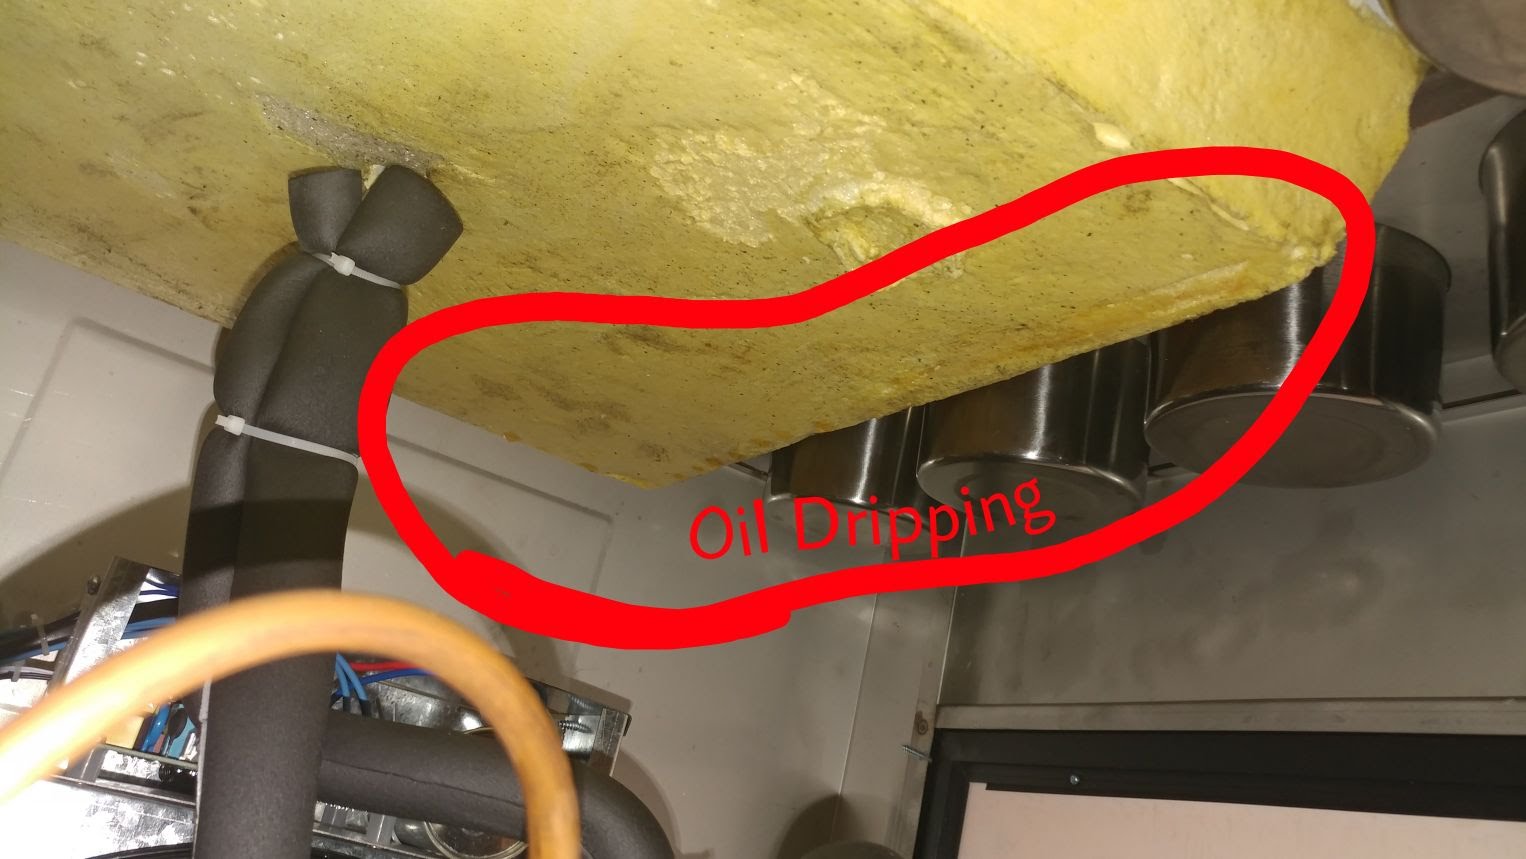
Secondly, some units do not attach the cooling coils to the pan surface using a thermal epoxy. Rather, the cold from the coils is coupled to the pan surface using an oil filled cavity. The problem is that the oil is likely to seep through the insulation surrounding the coils and drain out from the intended cavity. Once this happens the coils can no longer cool the pan surface evenly. There is no good solution. On some models it may be possible to use a syringe to refill the cavity but it will likely leak out again over time. The picture below shows oil leaking through the coil insulation.
Problem #7: Everything Else
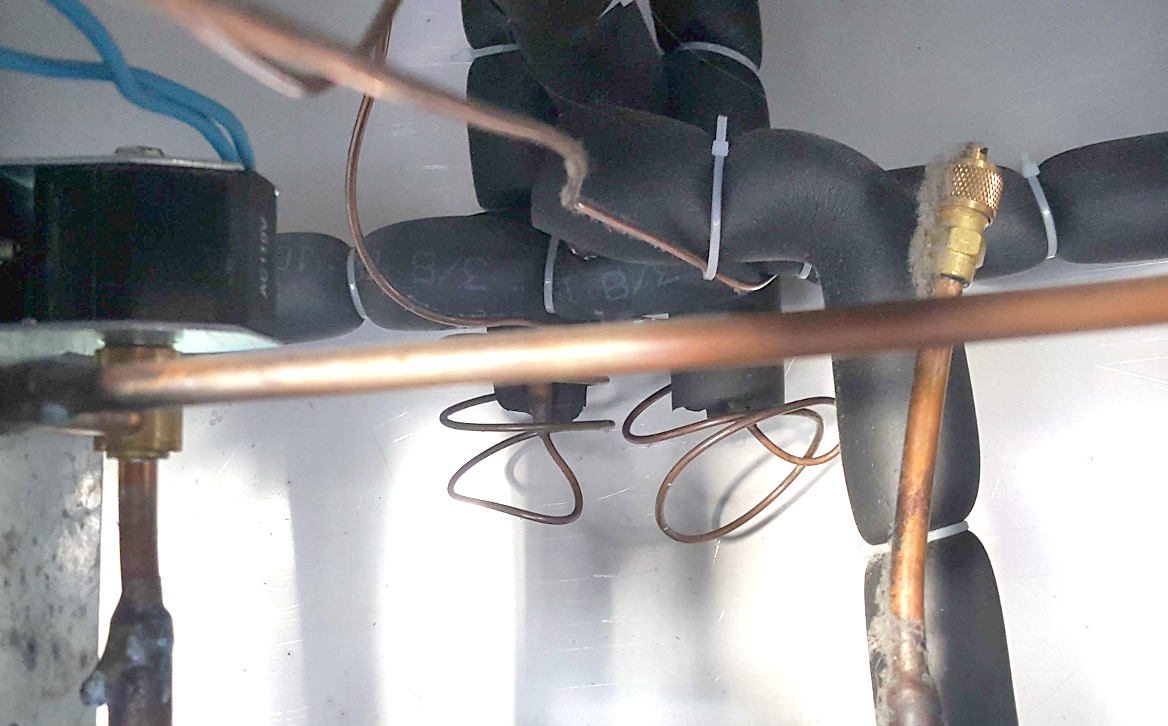
If your machine has one of the problems above then you are lucky. All of those issues can be resolved relatively easy and with little expense. Unfortunately, there are many other issues that could go wrong. As mentioned before, moisture in your refrigeration lines can cause acid that will lead to eventual failure of your compressor. That same moisture can also freeze during operation in the capillary tubes (shown below as the small coiled tubes) and prevent the refrigerant from properly cycling through your machine. Refrigerant can also become blocked if the capillary tubes become kinked, which can easily happen when they are poorly installed and coiled as shown in the picture below. Then there is the issue of scale build up in the refrigeration lines. When the copper lines are brazed together the manufacturer should (but most don't!) run nitrogen through the lines to prevent scale build up on the inside of the lines that can break free and plug your lines during operation. Lastly is the partial or complete loss of refrigerant. This could be due to a poor brazing job of the copper tubing or a small crack developed from the vibration of the unit over time.
Any of these conditions means that it is likely not cost effective to repair your unit. Why? Under any of these circumstances the unit must be drained of refrigerant (in a legal manner!), the main problem must be resolved, and then at a minimum the capillary tubes and filter drier should be replaced. Once all of this is done the refrigerant system must be evacuated and hold a deep vacuum for a period of time. Only then can the unit be refilled with refrigerant. This process is time consuming and costly. When you factor in shipping costs to and from a repair center it is often not cost effective to repair.
The bigger problem is finding a repair person locally to service your machine. That is how Custom Circuit Solutions became involved in repairing rolled ice cream machines. Our local rolled ice cream shop could not find anyone in the refrigeration trade who would be willing to repair their machines, given the custom and undocumented electronics. The Chinese manufacturer was also of little to no help and would not provide specs of the refrigeration system parameters in order to facilitate servicing the machines.
If you too have machines that are starting to fail or have failed completely, we can likely help directly or work with your local refrigeration expert to repair your machines.
